
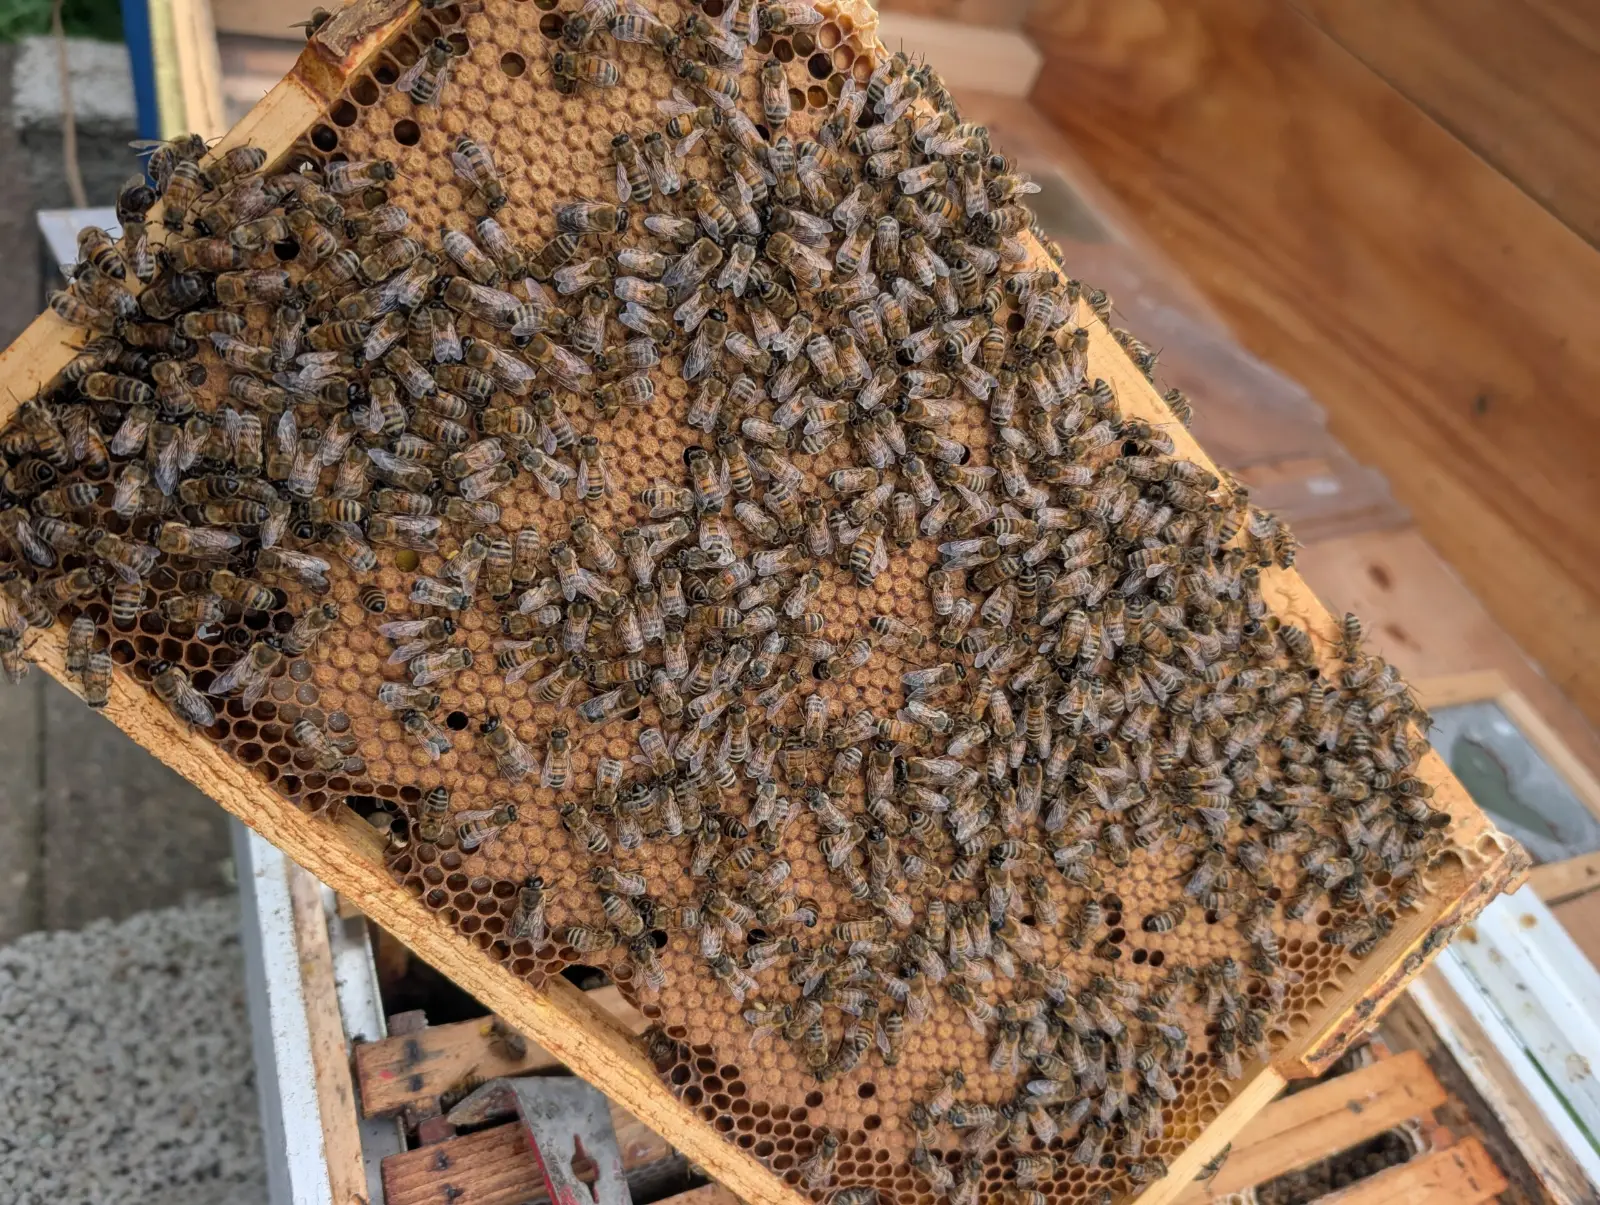
The Tjebuzdin brothers’ method
Saving a drone-laying colony (laying workers) – without losing the colony’s strength.
The principle: Create a strong stress situation (hunger, no combs) that disorients the colony and completely shuts down the ovaries of the laying workers. This lets you keep the colony at full strength, with 100% of its foragers.
Step 1: Remove the frames and disorient the colony
- Move the hive with the laying workers to one side and shake/brush off all the bees.
- Remove absolutely every frame – stores, pollen, brood and empty drawn comb.
- Put the empty hive back on its original stand. All the foragers fly back home, but end up in a completely empty box.
Step 2: Give the cluster something to hang from
- Place a few empty wooden bars (frame top bars) or put in 1–3 completely empty frames (no foundation or drawn wax) at the top, so the bees have a wider surface to cling to.
- Note: If there are a great many bees (a strong colony), stack two empty boxes and place the bars or empty frames in the upper box, so the whole mass of bees has room to form a cluster inside the hive.
Step 3: Stress period (2–3 days)
- Close the empty hive with a crown board/cover sheet and roof. There must not be a single gram of food or water inside.
- Ventilation: Ventilation must be very good – a hive with a mesh floor is best. Leave the entrance open for the whole period; it is an important airway. The bees fan and regulate the temperature themselves; as long as there is enough space, neither heat nor cold is a problem.
- Leave the bees like this for 48–72 hours.
Do not wait longer than 72 hours – otherwise the bees risk starving to death.
Result: The bees gather in a hungry cluster, start to feel the cold, and egg laying by the workers stops completely at the physiological level.
Step 4: Introduce the new queen
- On day 2 or 3, put a mated queen in an introduction cage with candy into the hive. An alternative is a ripe queen cell about to emerge, which gives almost 100% acceptance.
- Hang the cage on a wire under the cover sheet. Shake the mass of bees down onto the hive floor – they will crawl up to the cage by themselves, drawn by the queen’s pheromones.
- Important: Do not give frames or food yet at this stage.
Step 5: Release the queen (after 24 hours)
- One day after introduction, open the stopper/break the tab on the cage so the bees can eat through the candy and release the queen.
- Signs of success: If the bees have calmed down and started building wild comb (“wax tongues”) directly on the hive walls or around the cage – the queen has been accepted.
Step 6: Return frames and stores
- When you see the queen walking about on the new comb or on the wall, put frames of stores back into the hive.
- Add dark drawn combs for her to lay in – queens start laying sooner in dark combs.
The brood frames from step 1: So that the brood doesn’t chill and die without the bees’ warmth during the stress period, the frames must be shared out to other colonies straight away. If there are no other colonies, they have to be removed and discarded – left standing aside, the brood will die.
Step 7: Boost the colony (once laying has started)
As soon as you see fresh eggs from the new queen, give the colony 1–2 frames of capped, emerging brood from other hives to make up for the gap in development and support the colony.
Good luck!
© 2026 Aleksei Pliusov, Guldbigård. This text may not be copied or published without permission.